
Kiosk mode in Windows 11 is a feature that’s been around for many years that turns a traditional machine into a single-purpose device that only runs one app. This feature is typically used to set up a computer as a kiosk for guests to access the Internet, fill out an application, or convert a device into a digital sign to showcase a product or promote your business.
Whatever the situation, when using this mode, the computer will automatically log in and run only one application in full screen mode with a restricted user account that does not allow anyone to access the desktop, change settings, or switch to a different program.
In this Windows 11 guide, we will walk you through enabling, configuring, and disabling Kiosk Mode on your PC.
How to Enable Kiosk Mode on Windows 11
To enable Kiosk mode on Windows 11, use the following steps:
- Opens Settings.
- Click accounts.
-
tap on Family and other users The page is on the right side.
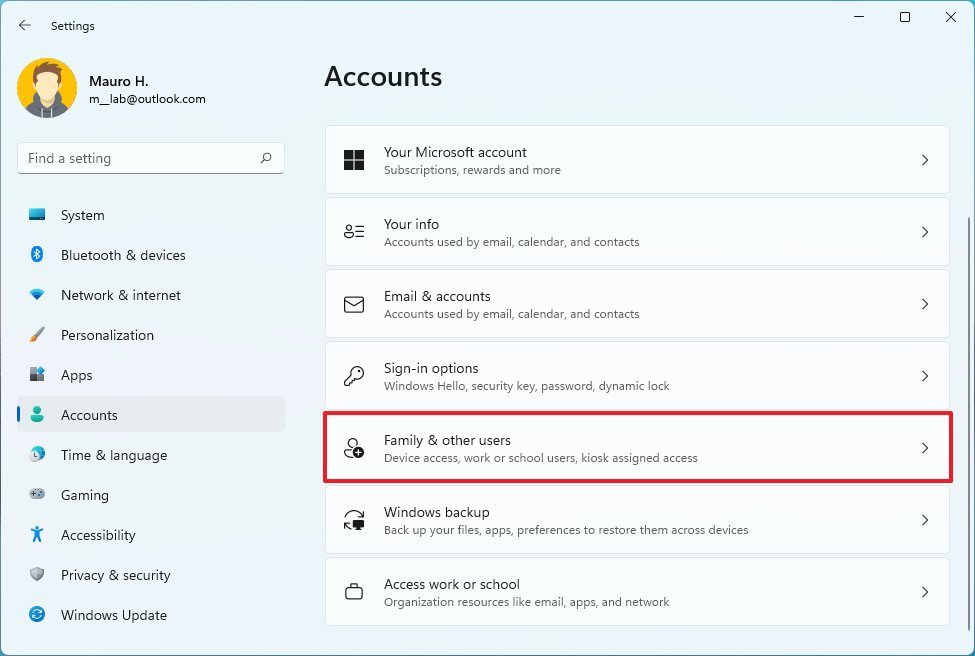 Source: Windows Central
 -
Under the “Set up kiosk” section, tap start button.
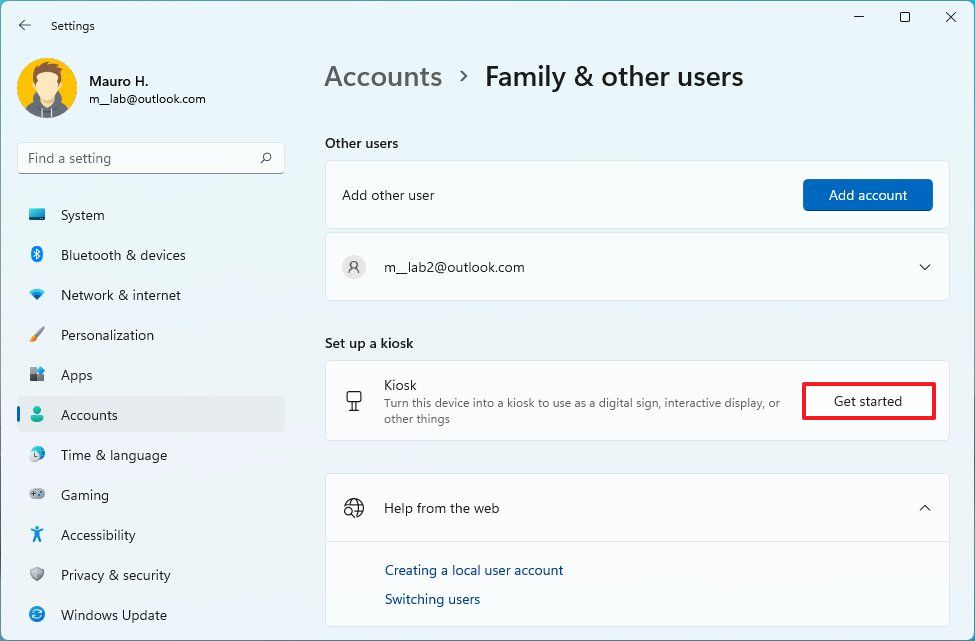 Source: Windows Central
 -
Add a name to create a Kiosk profile. for example, office_kiosk.
 Source: Windows Central
 - tap on next one button.
-
Select the application to be loaded in kiosk mode.
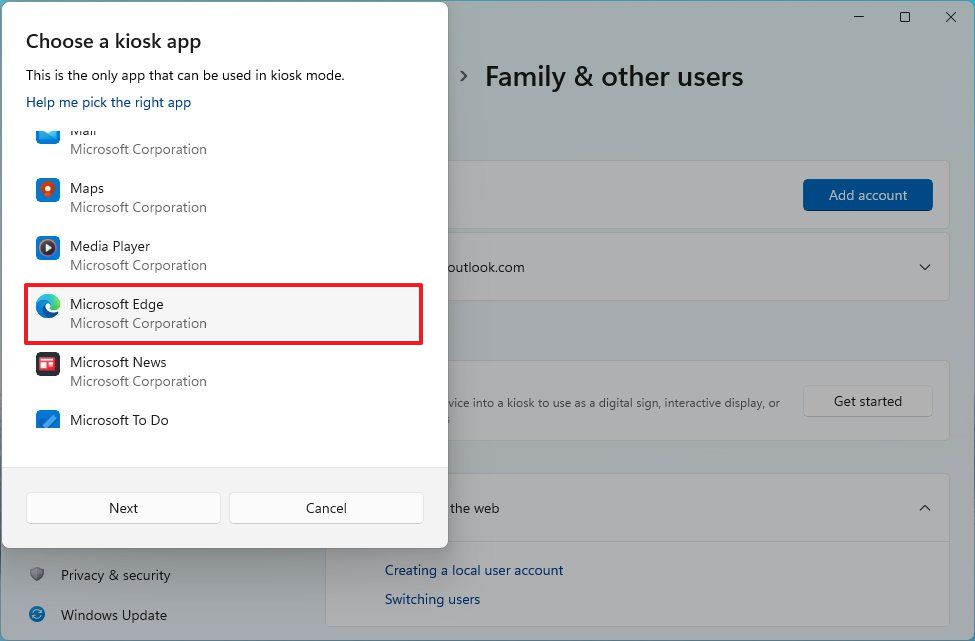 Source: Windows Central
 - tap on next one button.
-
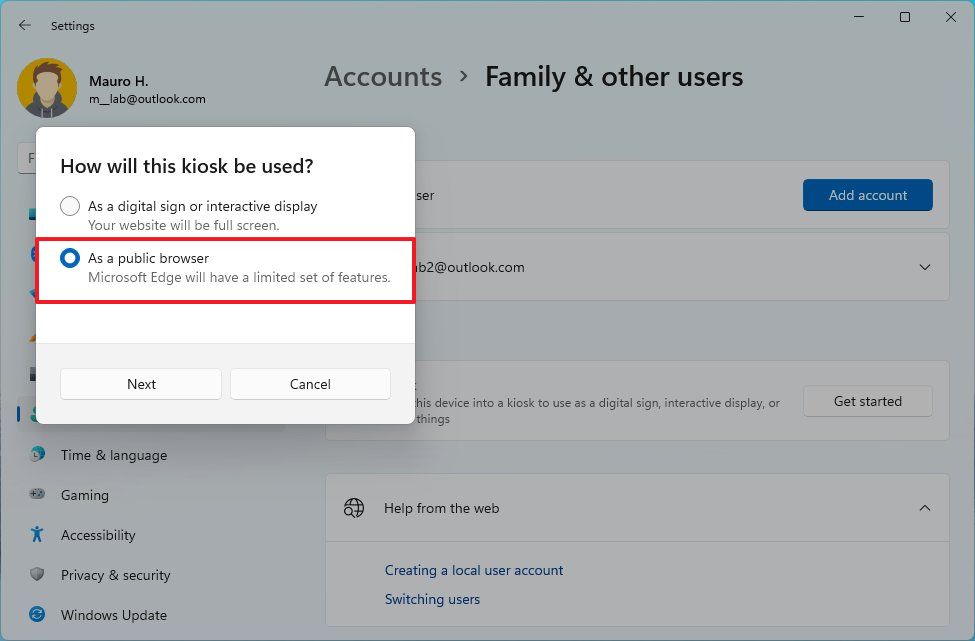
Choose how to run the app (if applicable).
 Source: Windows Central
Quick note: This setting will vary depending on the application. In this case, we select the “As general browser” option because we are setting up a computer that will be used to surf the Internet.
- tap on next one button.
-
Confirm the website to load using Microsoft Edge in Kiosk mode.
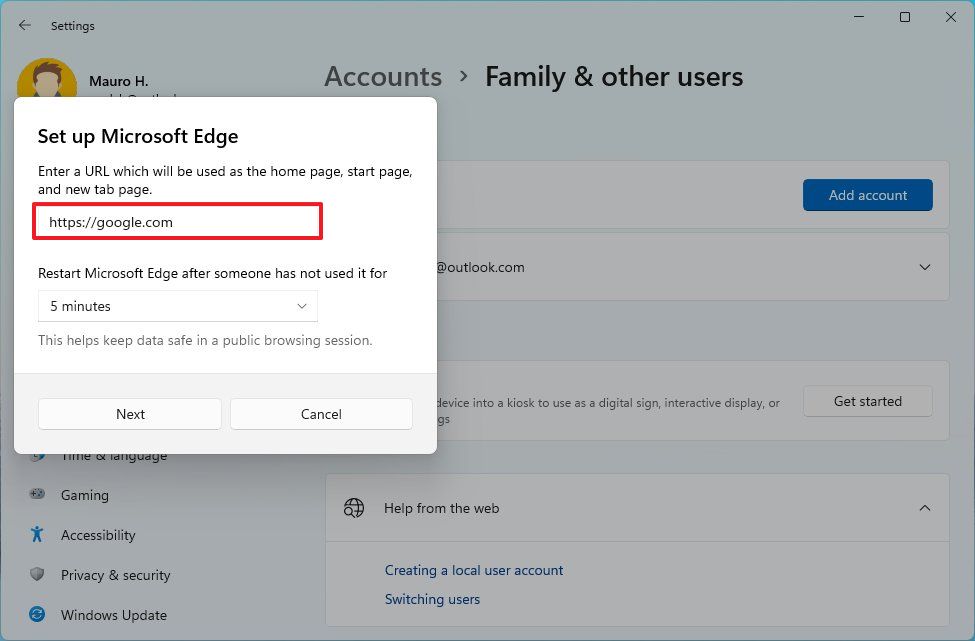 Source: Windows Central
 - Limit the minutes of inactivity before restarting the app (if applicable).
- tap on next one button.
- tap on Close button.
Once you complete the steps, sign out of the main account and sign in with your Kiosk account to download the app.
If you want to exit the session to close it, restart the device, or log in with another account, you will need to use Ctrl + Alt + Del Keyboard shortcut to show logout options.
How to customize kiosk mode on Windows 11
In Windows 11, you can change your current Kiosk or application configuration settings as needed.
Change Kiosk Settings
To change Kiosk settings on Windows 11, use the following steps:
- Log in with the administrator account.
- Opens Settings.
- Click accounts.
-
tap on Family and other users The page is on the right side.
Source: Windows Central -
Under the “Set up kiosk” section, tap booth (active) setting.
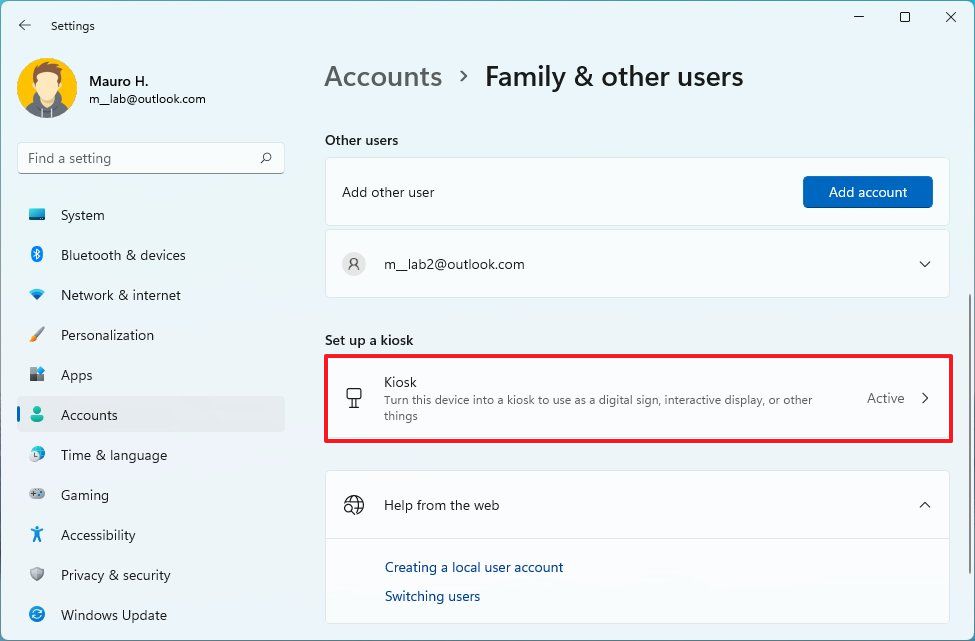 Source: Windows Central
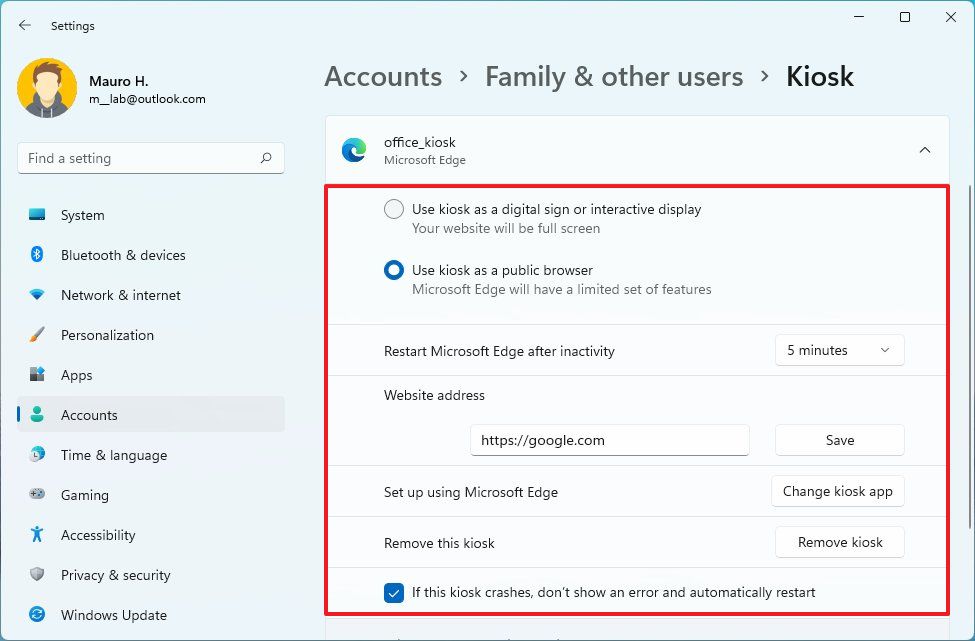
 - Select the application.
- Change the settings as needed.
After completing the steps, the new settings will be applied the next time the Kiosk account is loaded on the computer.
Kiosk app change
To change the app to your current Kiosk configuration, use the following steps:
- Log in with the administrator account.
- Opens Settings.
- Click accounts.
-
tap on Family and other users The page is on the right side.
Source: Windows Central -
Under the “Set up kiosk” section, tap booth (active) setting.
 Source: Windows Central
 - Select the application.
-
tap on Kiosk app change button.
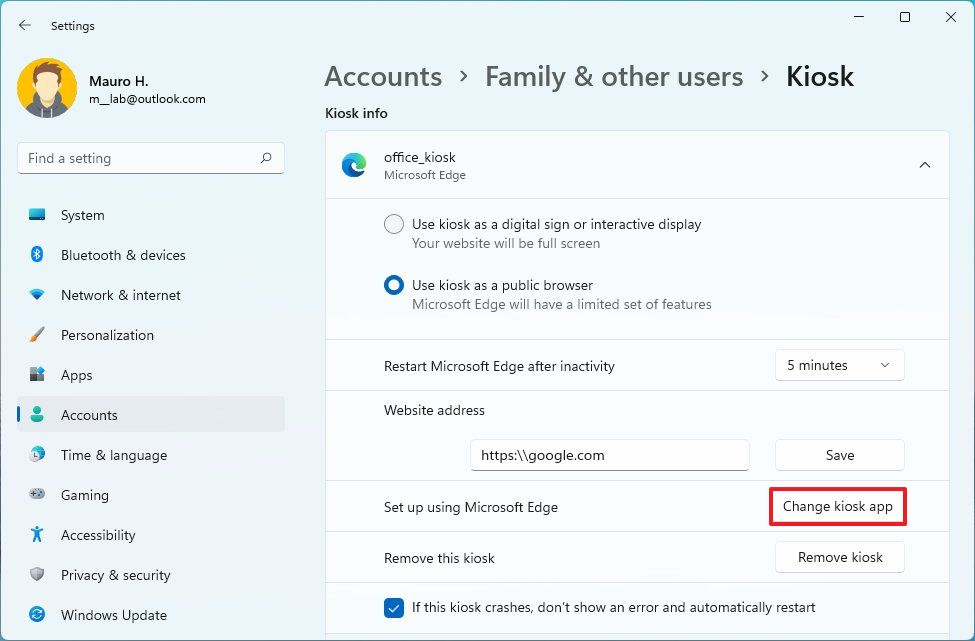 Source: Windows Central
 -
Select the new app
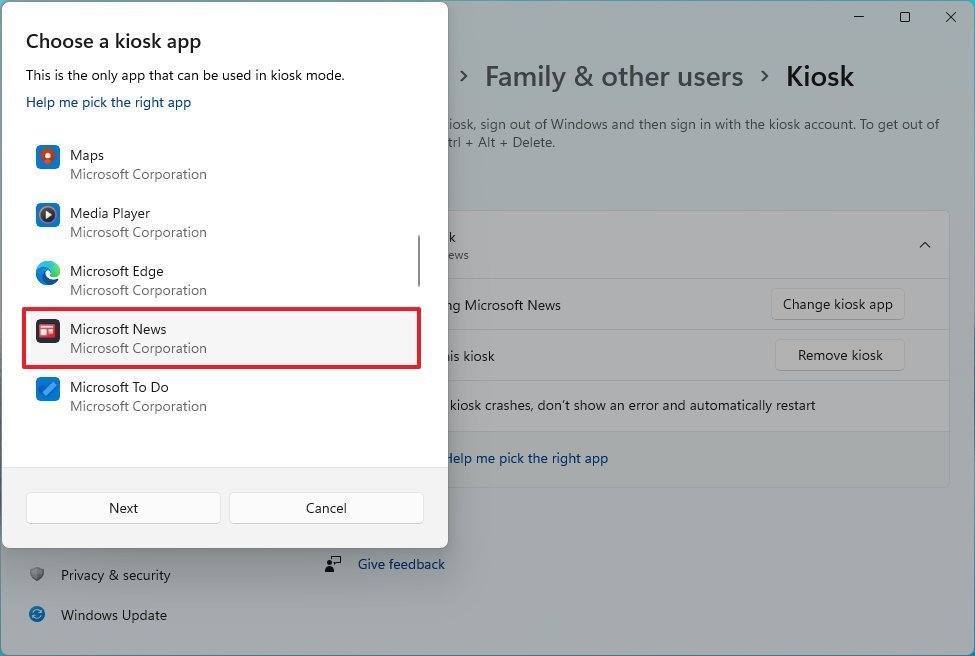 Source: Windows Central
 - tap on next one button.
- tap on Eliminates button (if available).
Once you complete the steps, the new app will be loaded the next time you access your Kiosk account.
How to disable Kiosk mode on Windows 11
To disable Windows 11 Kiosk mode, use the following steps:
- Log in with the administrator account.
- Opens Settings.
- Click accounts.
-
tap on Family and other users The page is on the right side.
Source: Windows Central - Under the “Set up kiosk” section, tap booth (active) setting.
- Select the application.
-
tap on remove booth button.
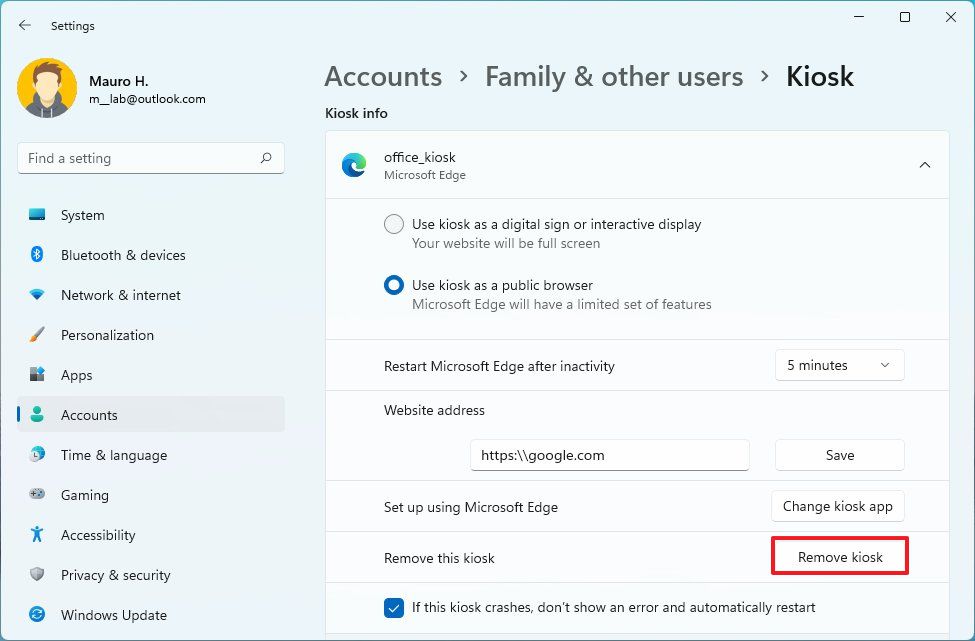 Source: Windows Central
 - tap on Removal button.
After completing the steps, Kiosk mode will be removed from Windows 11.
More Windows Resources
For more articles, coverage, and helpful answers to frequently asked questions about Windows 10 and Windows 11, visit the following resources:
Comments
Post a Comment